Logos
Customizing your application logo
About
To customize the appearance of your application in the desktop icons, taskbar, etc., you have to provide custom logo files. You can find the distribution logo files at dist/logo, these are the logos used by the installers and packages, e.g. for desktop shortcuts. In the img/logo resource directory in the app project, you can find the logo files that are used at runtime, e.g. for loading icons or tray icons in the application itself.
To start out, you ideally already have an .svg file for your logo. If not, then it's best to create one as rasterized images don't translate very well into variable resolutions.
ico
The files in various different resolutions at dist/logo/ico are for the Windows installer/executable icon, which is an .ico file. You will have to export your svg logo into all the available resolutions in the ico directory.
The actual ico file can then be generated with the ImageMagick convert command (You can run this in WSL if you are on Windows) with cd dist/logo && convert ico/logo_*.png logo.ico.
hicolor
The hicolor icons in dist/logo/hicolor are for Linux desktop environment icons, using the hicolor theme, which is supported everywhere. You also have to export your logo into all available resolutions. Since the hicolor theme uses the png files, you don't have to create another file as with the ico file.
macOS icon composer
Since macOS 26, the intended way to generate app icons is through the new icon composer app.
Since this is not a native project and is not built with Xcode, we will have to go a different route on properly exporting and integrating the icon into the built app. The icon composer does not generate an .icns file for these new icons, instead the data is included in the app Assets.car file in a proprietary format.
The first step to generating the macOS icon is to create an icon composer project. The logo_composer.icon is the XPipe composer project, which you can use as an inspiration.
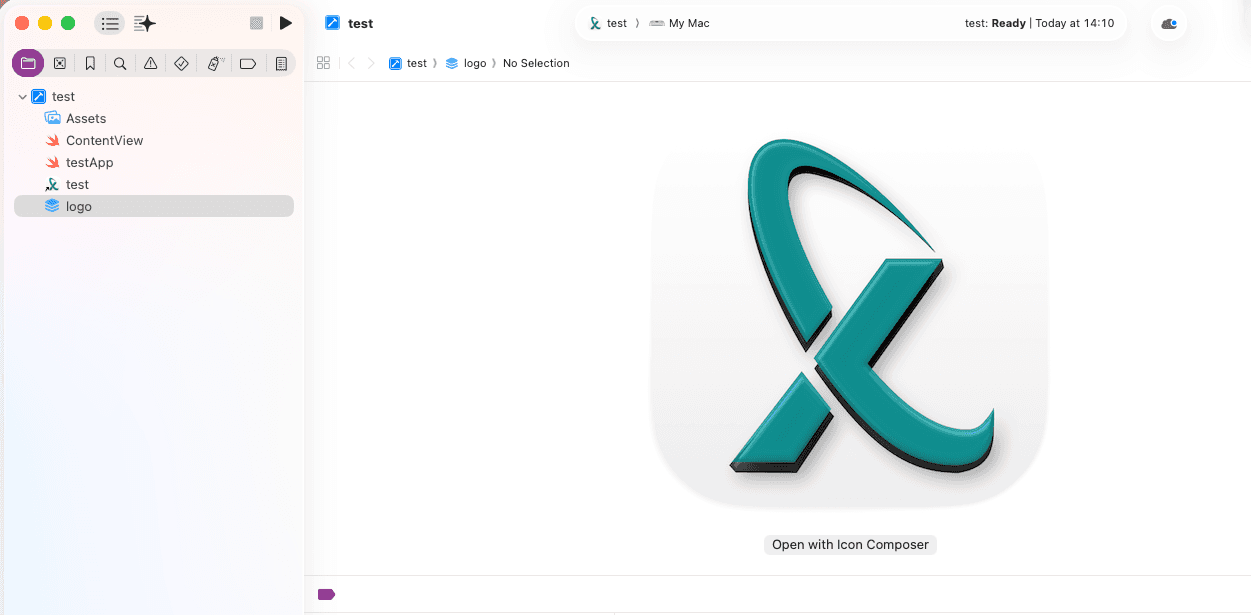
Once you created the icon, we will first want to convert it to an Assets.car file through Xcode. Since there is no easy way to convert this, you will have to:
- Create a new Xcode app project
- Drop the icon into the Xcode project

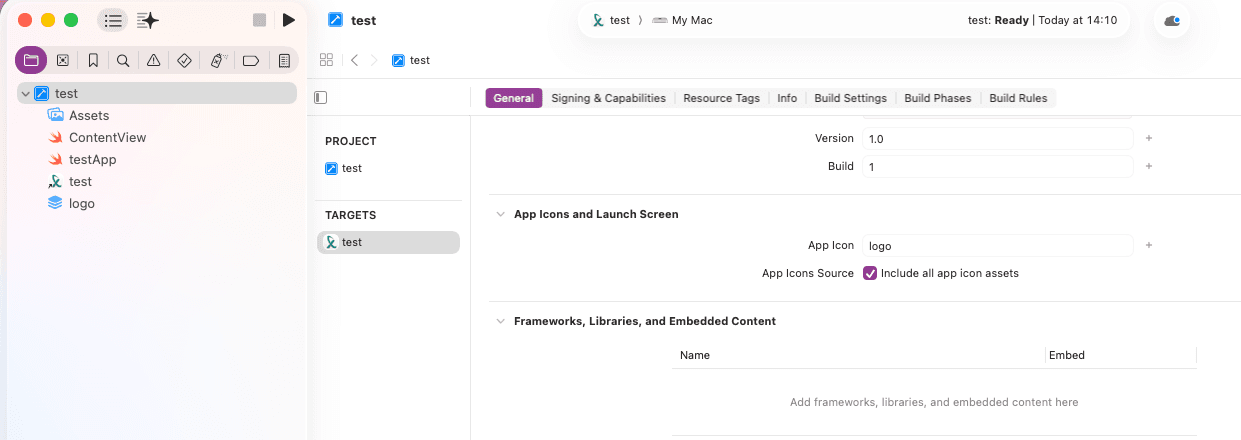
- Configure the project to use the icon by setting the icon name in the project settings

- Build the project to create an .app bundle at
Product->Build - Navigate to the build directory at
Product->Show Build Folder In Finder, open the .app bundle as a directory - Navigate to
Contents/Resources - Copy the Assets.car and .icns file to your project, overriding the existing ones
If you want to preserve compatibility with macOS systems older than macOS 26, you will have to also use the .icns icon. The icon composer file export from Xcode also generates an .icns file with a few common resolutions. However, the automatically generated .icns file does not include all possible resolutions. If you're looking for a high quality .icns icon, you will have to generate one manually. This is also possible with ImageMagick, similar to the .ico icon.
Icon resources
Once you have created all the icons in the native formats, you can use the individual icons to also set the icon resources at resources/img/logo in the app project. These are used at runtime, e.g. for loading icons or tray icons. There shouldn't be any more work involved customizing these as you should be able to just copy-paste most of the dist project logos.
Installers
In addition to these icons, some installers like .msi or .pkg allow the ability for custom branding during the installation process. You can configure the images used in the dist/msi and dist/pkg/resources directories.
